How to DIY Incense Holder: A Step-by-Step Guide to Crafting Your Own Unique Incense Holder
Share
Table of Contents
- Introduction
- What You Need to Get Started
- Choosing the Right Design
- Step 1: Preparing the Base
- Step 2: Shaping the Holder
- Step 3: Creating the Incense Stick Slot
- Step 4: Adding Decorative Elements
- Step 5: Drying and Finalizing
- Step 6: Optional: Adding Color or Finish
- Caring for Your DIY Incense Holder
- Creative Variations
- Troubleshooting Common Issues
- Conclusion
Introduction
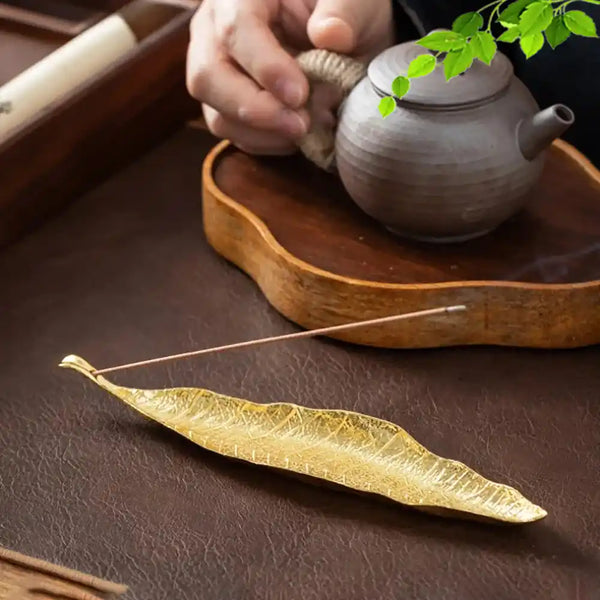
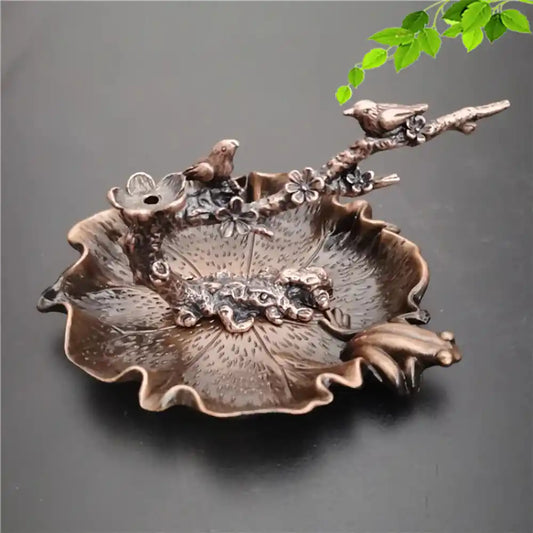
Golden Leaf Incense Holder - Zen-Inspired, Compact & Elegant
Making your own incense holder is not just a fun DIY project, but it also lets you create a piece that fits your personal style and home decor. Whether you're into minimalist designs, bohemian aesthetics, or rustic themes, crafting your own incense holder allows you to bring your vision to life.
But, why DIY? Besides adding a personalized touch, creating your own incense holder can save you money compared to buying high-end, ready-made pieces. Moreover, it's a perfect way to connect with the creative process, using your hands to make something functional and beautiful.
This article will guide you through every step of the process, from choosing the right materials to adding the finishing touches. By the end of this guide, you'll have a beautiful incense holder that is uniquely yours!
What You Need to Get Started
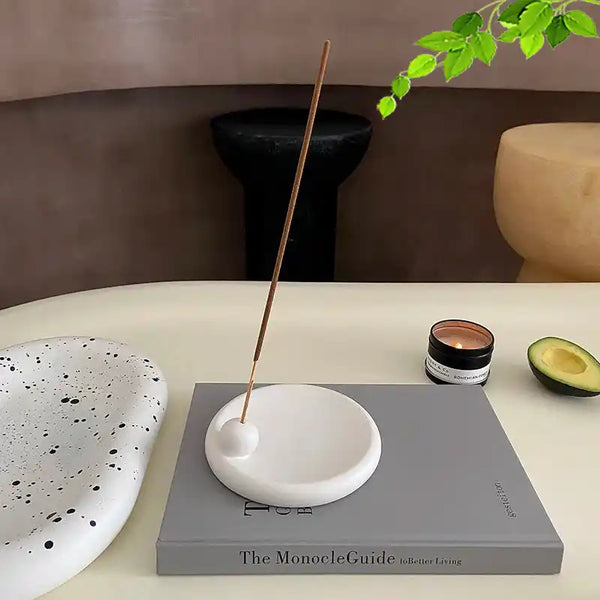
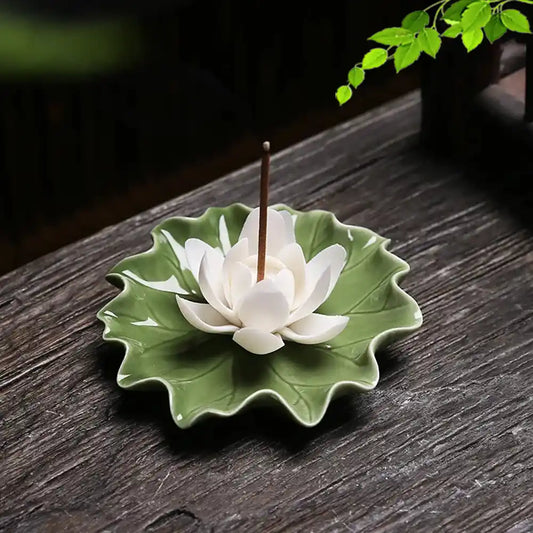
White Ceramic Round Plate Incense Holder - Japanese Minimalist Aroma Base
Before you dive into crafting, it's important to gather the necessary tools and materials. Here's a list of the basic items you'll need to create your DIY incense holder:
| Materials | Description |
|---|---|
| Base Material | Wood, clay, stone, or ceramic. Choose based on aesthetics and ease of shaping. |
| Incense Stick | You'll need an incense stick to measure the appropriate hole size for the incense slot. |
| Drill | For making the incense stick slot. If using clay, you might also need a sculpting tool. |
| Paint/Decorative Materials | Acrylic paints, beads, stones, or decorative tiles to personalize your holder. |
| Sandpaper (optional) | If working with wood or clay, sandpaper is helpful for smoothing edges. |
| Sealant or Varnish | To finish and protect your holder, especially if using porous materials like clay. |
Where to Find Materials?
- Wood: Local craft stores or online platforms like Amazon.
- Clay: You can buy air-dry clay from most craft stores or online.
- Stone: Small pebbles, bricks, or slate tiles work well for a more rustic vibe.
- Decorative Items: Craft stores, bead shops, or even your local garden center for stones and flowers.
Choosing the Right Design
Choosing the design of your incense holder depends on your space and personal style. Here are a few popular design ideas:
1. Minimalist Design
A simple, sleek holder, often made from wood or metal, with a single hole for the incense stick. It's perfect for modern or minimalist interiors.
2. Bohemian Style
A clay or stone holder adorned with beads, natural stones, and earthy tones. This works well in spaces that embrace earthy vibes and free-spirited decor.
3. Multi-purpose Holder
Combine an incense holder with a candle holder or tray for added functionality. These are ideal for those who love multifunctional decor.
Step 1: Preparing the Base
Start by selecting a solid base material. For this guide, let's assume you’re working with wood or clay.
Wood: If you're using wood, choose a smooth, flat piece with enough surface area to accommodate the incense stick and holder design. Cut it to the desired size.
Clay: Roll out the clay to your preferred thickness. Use a rolling pin to ensure it’s even and level. If you're making a circular holder, use a template or compass to mark the shape.
Stone: If you're using stone or slate, make sure it’s sturdy enough to support the incense stick without tipping over.
Step 2: Shaping the Holder
Now that you’ve prepared your base, it’s time to shape your incense holder. For a wooden holder, use a carving tool to carve out a groove or a slot where the incense will sit. If you’re using clay, you can mold it by hand or use molds for more complex designs.
- For a simple design, just carve out a small hole for the incense stick. It doesn't need to be too deep—just enough to keep the incense stick upright.
- For a more elaborate design, think about creating layers or adding small ridges to catch the ash as it falls. This will add both style and functionality.
Step 3: Creating the Incense Stick Slot
The key to a functional incense holder is the slot that holds the incense stick. Here's how you can create it:
- Wood: Use a drill with a small bit that matches the diameter of the incense stick. Drill at a 45-degree angle into the holder, ensuring it's deep enough to hold the incense in place but not too deep to disrupt airflow.
- Clay: Use a sculpting tool to carve a shallow, vertical hole. Be sure to check the size by testing the incense stick before moving on.
Tip: Make sure the incense stick slot is slightly larger than the incense stick’s diameter to allow airflow, which helps the incense burn properly.
Step 4: Adding Decorative Elements
Here comes the fun part—personalizing your incense holder! This is where you can get creative. Here are a few ideas:
- Paint: Use acrylic paints to add color to your holder. You could go for a solid color or intricate designs like mandalas, geometric shapes, or nature-inspired motifs.
- Beads and Stones: Attach small beads or stones around the base or rim for extra flair.
- Burn Marks: For a rustic look, intentionally burn or distress the edges to give it an aged, earthy vibe.
You can even add small engraving to the holder for a more unique, custom touch.
Step 5: Drying and Finalizing
After you’ve shaped and decorated your incense holder, it's time to let it dry.
- Wood: If you’ve used glue for decorative elements, let it dry for at least 24 hours. Sand the edges to ensure smoothness.
- Clay: Allow the clay to air-dry for a full 24–48 hours, depending on thickness. If you're using air-dry clay, be careful not to handle it too soon to avoid cracking.
Step 6: Optional: Adding Color or Finish
If you want a more polished look, you can add a final coat of varnish or paint.
- Varnish: Apply a clear coat of varnish to protect the surface and give it a glossy finish. This is particularly important for wood or clay holders.
- Stain: If you prefer a more natural finish, staining the wood can help bring out its natural grain.
Caring for Your DIY Incense Holder
To keep your incense holder looking great, it’s important to clean it regularly. Dust and ash can build up, so make sure to wipe it down after every use. For wooden holders, occasional polishing with furniture wax will keep them looking fresh. For clay or stone holders, a gentle rinse with water and a soft cloth should suffice.
Creative Variations
Want to try something different? Here are a few creative ideas:
- Dual-Purpose Holder: Combine your incense holder with a candle holder or ashtray. These designs are practical and add another level of aesthetic appeal.
- Eco-Friendly: Consider using recycled materials like old glass bottles or wooden scraps for a sustainable project.
Troubleshooting Common Issues
While crafting your incense holder, you might encounter some issues. Here are common problems and how to fix them:
| Problem | Solution |
|---|---|
| Incense Stick Falls Over | Ensure the slot is wide enough for airflow and deep enough to hold the incense firmly. |
| Base is Unstable | If using clay or stone, make sure the base is flat and solid. You might need to reinforce it with extra material. |
| Decorative Paint Chips | Seal your holder with a protective varnish layer to prevent paint chipping. |
Conclusion
DIY incense holders are a rewarding project that lets you express your creativity while crafting something functional. Whether you’re new to DIY or a seasoned crafter, these steps will guide you through creating a unique holder that suits your style. Don’t forget to experiment with different designs, materials, and finishes to make your incense holder truly your own.
Further Reading:

